
Note:- The admin has to give access to the driver to manage invoicing to use the invoice feature in the driver app.
In the web application, Admin can go to Assets➡️ Drivers➡️ Select the Driver➡️Driver Details➡️ Select the level of access the driver should have regarding invoicing.

Image 1
Invoice
You can find the INVOICE section inside the Load details adjacent to "LOAD INFO" as shown below.
Once you click on the Invoice section, you can find the total amount due with all the revenue line items as well as Loaded and Empty miles details,
You can click on any of the line items to make changes to them. To add a new line item, click "Add Line Item" as shown below.

Image 2
Under Line Item, you can find the "Invoice" and "Payments" sections.
You can add Line Item by selecting the required Line Item under Invoice section, you can find the related description associated with the selected Line Item

Image 3
Under the Payments section, you can add Advance Amount and Partial Payment Amount.

Image 4
All the new Line Items and the Payments added will be reflected in the Load details section as shown below.

Image 5
If you scroll down under the Invoice section, you can find Factoring details for a Completed Load. You can also Download or Email the invoice of the Completed Load as shown below.

Image 6
You can change the status of the Load from Completed to Invoiced by clicking on "Mark as Invoiced" as shown below.

Image 7
You can change the status of the Load from Invoiced to Paid by clicking on "Mark as Paid" as shown below or revert to Completed by clicking on "Undo Invoicing" as shown below.
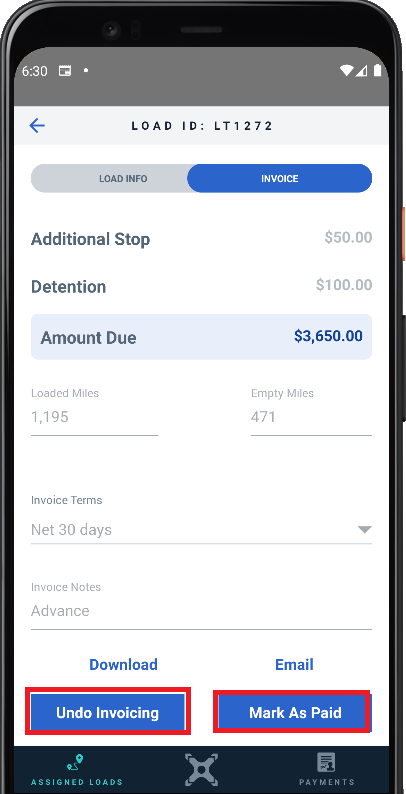
Image 8