
You can add Customers to LoadsOps from the Import Option (Import Data) available under Settings.
You can also import the data within the Operations > Contacts > Customers section by clicking on the upward arrow button as shown below.

Workflow: Please go to the attached link on how to add Customer (Add Customer)
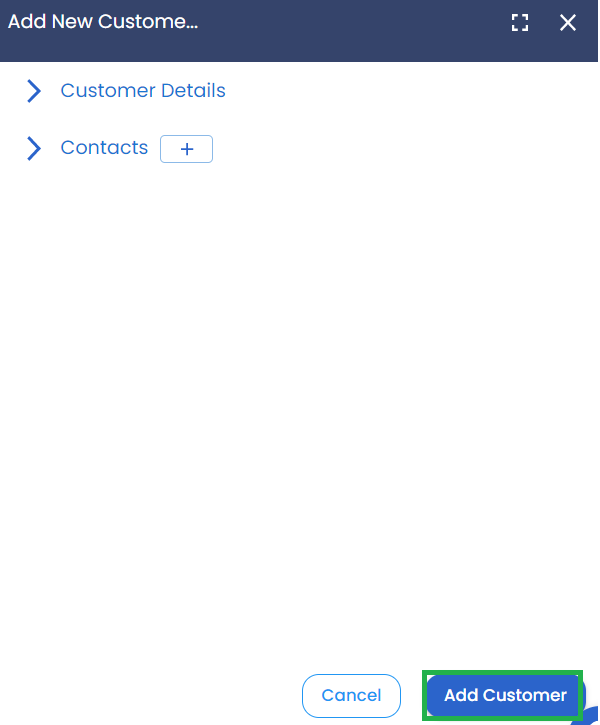
To add a Customer manually, go to Operations > Contacts > Customer > Click on "Add Customer" as shown below.

Enter all the Customer details and click "Add Customer" as shown below.
While creating a Customer, you need to enter Customer Details and Contacts.
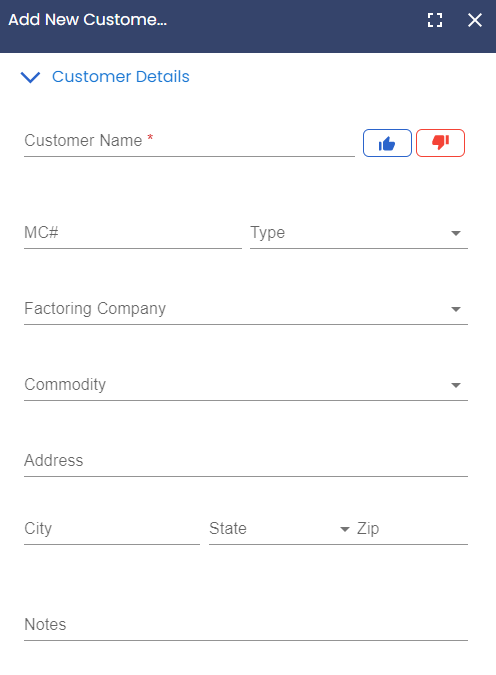
Under Customer Details, enter the data as shown below. Only the Customer name is required but the more information you keep up to date, the more organized your profile will be
Customer Details include:
- Customer Name (Hit Like Button to mark it as a preferred Customer)
- MC#
- Select the Type (Shipper or Broker)
- Select the Factoring Company
- Select the Commodity
- Address
- City
- State
- Zip
- Notes
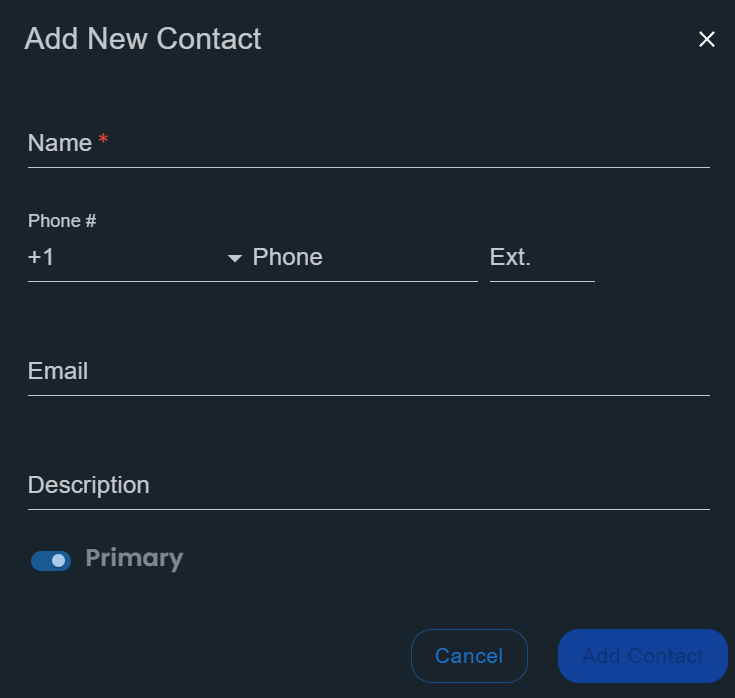
Click on the "+" icon under Contacts and add Contact details and select if the contact is the primary contact as shown below.
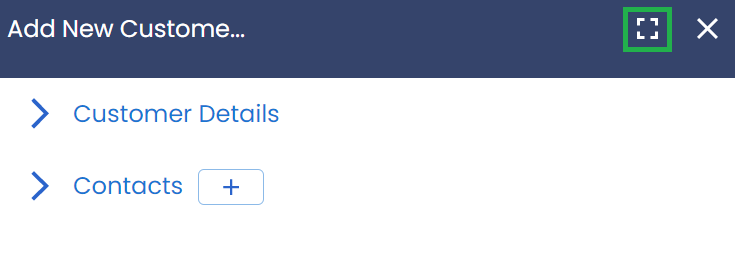
Click on the Square Box shown below to maximize the Customer window.
You can go to Operations > Contacts > Customers to view the list of Customers.
You can click on any Customer to view the Customer details and edit them.
You can delete a Customer as shown below.
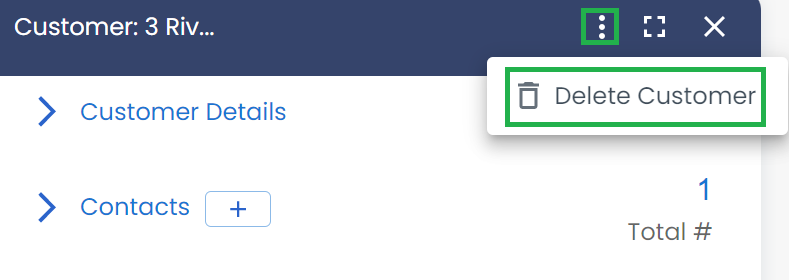
If a Customer is referred to in any Load then you cannot remove the Customer till the load is deleted or the Customer is removed from the load.
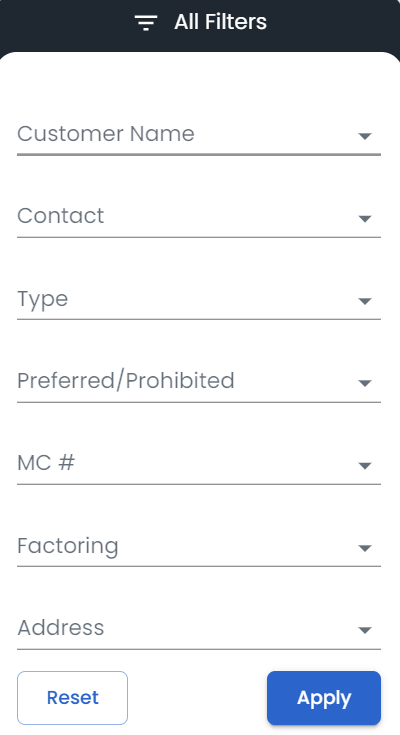
You can filter Customers by Customer Name, Contact, and Type as shown below.

Click on All Filters as shown above to apply a wide variety of filters.
Click on the settings or gear icon adjacent to the All Filters option to show/hide columns as shown below.
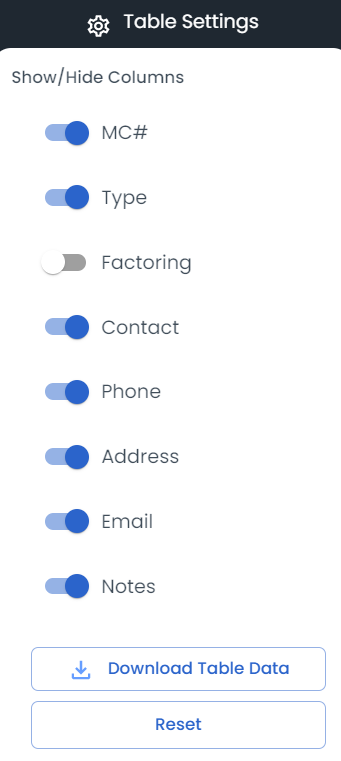
You can also download all the Customer details by clicking on "Download Table Data" as shown above.