LoadOps Geofencing
What is Geofencing in LoadOps?
Geofencing is the act of drawing a perimeter/boundary around a location.
When using Geofencing in conjunction with the driver mobile app, LoadOps can intelligently identify when a driver crosses the geofence boundary and can notify both the dispatcher and the driver.
This enables greater accuracy and visibility into a load progress and reduces dependency on external ELDs.
Setting up a Geofence on a location level
A Geofence boundary can be set on a per location basis. To set a boundary for a location, go to Operations> Contacts> Locations & Create a new location or select an existing location to add a Geofence.
Follow the guide below to learn more.
Setting a global Geofence radius for all locations
Alternatively, a global Geofence radius can be set for all locations. This radius will be applied to locations that do not have a manually set Geofence.
Go to Settings>Set default radius for geofence in order to set your custom radius.
Geofencing in the driver mobile app
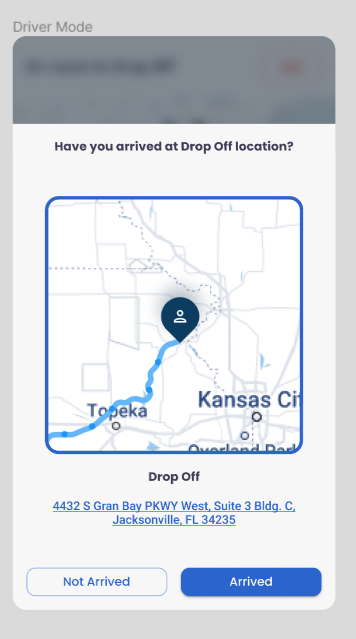
Drivers crossing a geofence boundary will receive a push notification to confirm if they have arrived at a location or not.
This reduces the need for drivers to remember to open the application and manually progress a load.


