TAFS
Table of Contents
What is the TAFS integration?
By integrating your TAFS account with LoadOps, you can easily send invoices to your factoring provider for them to pay. This article discusses the process of integrating & and using your TAFS account with LoadOps.
Enabling TAFS Integration
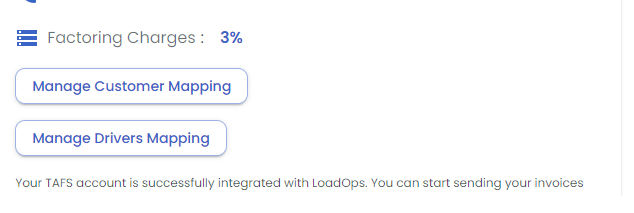
Navigate to Settings>Integrations>Finance to connect your TAFS account. Use the guide below to learn more.
Managing the TAFS Integration
The TAFS integration can be managed in two ways:
- Link & update Customers
- Link & and update Drivers

Customers & and drivers can be matched to their corresponding TAFS entity using the "Update & Map" button.

Linked a TAFS contact with the wrong LoadOps entity? Select the contact and use the "unlink" button to separate them.

Using the TAFS Integration
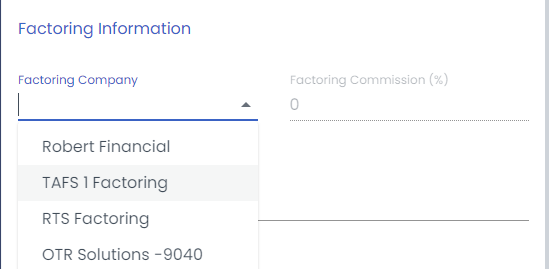
Once the integration is enabled, it will be visible in the load panel under Invoice>Factoring information.

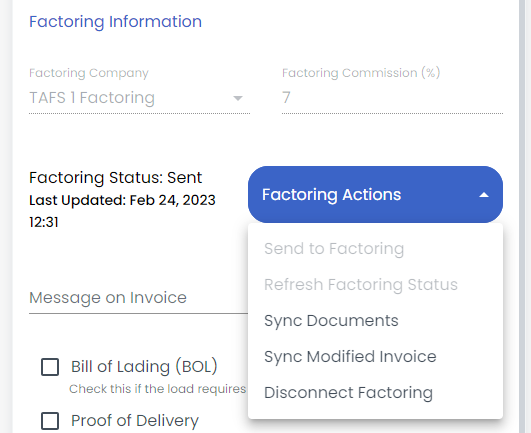
Adding factoring to the load invoice allows you to perform "factoring actions." These actions range from sending invoice details, to syncing documents.

